Todor Kostov


Character animation - mech
The aim of this project is to create an animated mech unit. In order to do that, I'll have to first research similar things - all kinds of robots, parts, mechs, cyborgs etc. The next step is going to be modelling it. I believe this will take most of my time, as it'll be the first time I'll work on such a detailed unit. Next, texturing. I am unsure at this point whether I'll have to UV texture the whole thing, or if I'll be able to get away with another method, but we'll see. The next step will be to put a skeleton on that thing, or in other words - rig it. This will make the next bit easier, since I won't have to animate it in some weird positions to get it to move. The final bits will be to animate it, record it, and as a final step - edit the footage. First thing's first - research.
research
Before I get into the modelling bit, I have to decide what exactly am I looking to make. Here I've put up most of the pictures that somehow influenced my decision. There are many things to have in mind here - whether my model will have armor on, how exactly will I rig it, what method should I use to model it, etc. All of this will need to be thought about, since if I make a mistake with my modelling and then decide to rig it in a certain way, that might become impossible. First, the general shape of my mech. I decided it's going to be a slim and tall humanoid figure.
The main reason for me to decide that, is because I've always been afraid of trying it. All the muscles and joints in the human body are extremely complex, so I haven't even tried modelling a body so far - this will be my very first attempt at that. Another thing, is that I'm terrible with the Smooth tool. I never got around to learning it, since it's pretty much like a whole other way of modelling. This is the time, when I decide to risk it. I don't know whether I'll be able to complete the whole project in time, but I'll try my very best either way. You can see a list of designs on the right and the bottom - I might use some of these ideas into my own mech, even thought I'm aiming to make something else. These are all concept arts by different freelance authors around the internet.
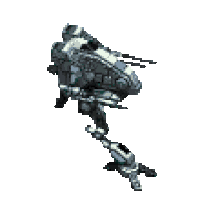
There are some key elements I'd like to discuss here. One very easily noticable thing - swords. I'm a big fan of swords in general, and as you can see, I've included many pictures of robots with swords. I'd like to make one for my own mech. Some of these pictures really helped me with choosing the right approach for my modelling - the woman in the bottom left (just above this text) will be of great use for me. You can clearly see how each part of the body has to be modelled and how to seperate each prt as an individual mesh. It's important to have each part individually rather than have the whole body as one single mesh, since the rigging approach I've chosen needs parts rather than one big model. There are two animated pictures here too - they will help me with animating the robot in the end so I can make him move smoothly. The robot on the bottom right - that is probably the closest to what I'd like to model. It's a very slim and tall figure. The reason behind that, is that in every single game I've played, the smaller classes are more agile and the bigger ones are stronger and I prefer speed over strength. It's just a personal preference. There are a bunch of more things I'd like to include here before I proceed with the modelling.


big daddy
Bioshock's Big Daddy was the very first thing to come to my mind when we started this project. He is exactly what we need to make - a huge mech with many mechanical parts. I really love how Big Daddy looks like, but I knew I'll try to do something else for my project. At the very least, I decided to make my character look a bit more steam-punk, only because of him. The color palette used to texture Bioshock's monstrocity is simply amazing - all bronze and rusty colors, which works really well with the theme of the game. In the end, I decided that'll be the only thing I'd like to take from Big Daddy. Even then, he still deserves to be mentioned.
big sister
Another one of Bioshock's main figures. The Big Sister is known for her speed and agility, and has a very tall and slender figure. I really love how the model looks altogether, and it's in-game animations are something worth admiring as well. The colors are similar to that of Big Daddy, and they're something that soothes the eye. The amount of small details in the model is also something I love - all the metal supports around the legs and on her back really give that model a very pleasant look. When I was deciding how exactly to model my mech, I was hesitating whether to make it more similar to that of the Big Sister or to pursue my own design.
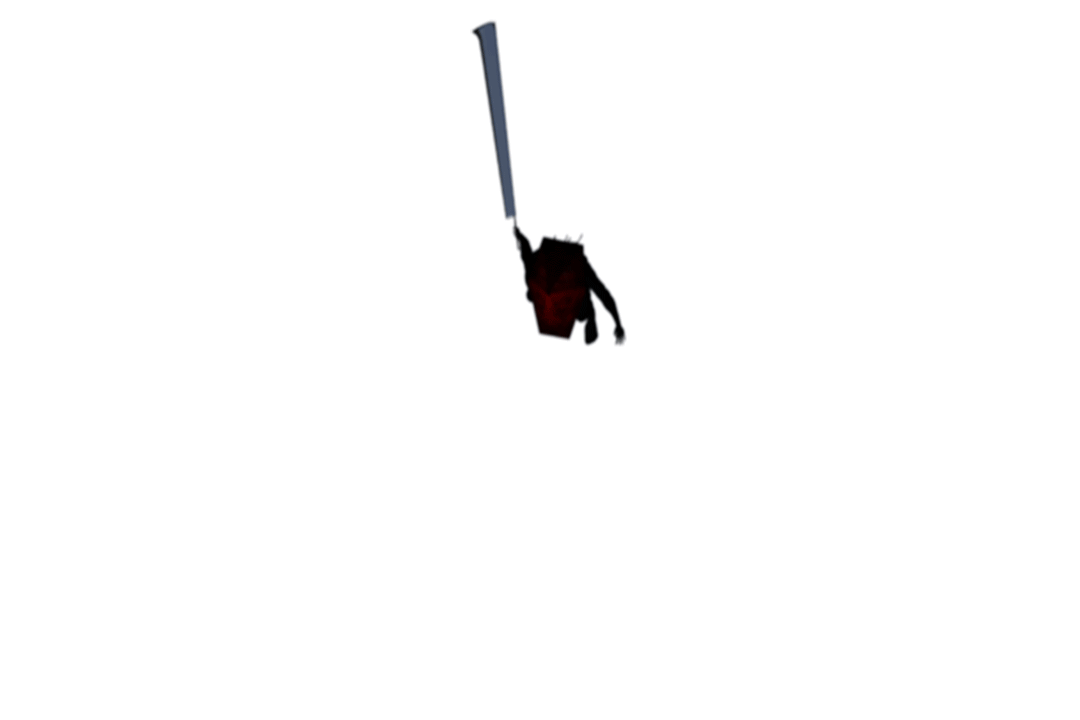
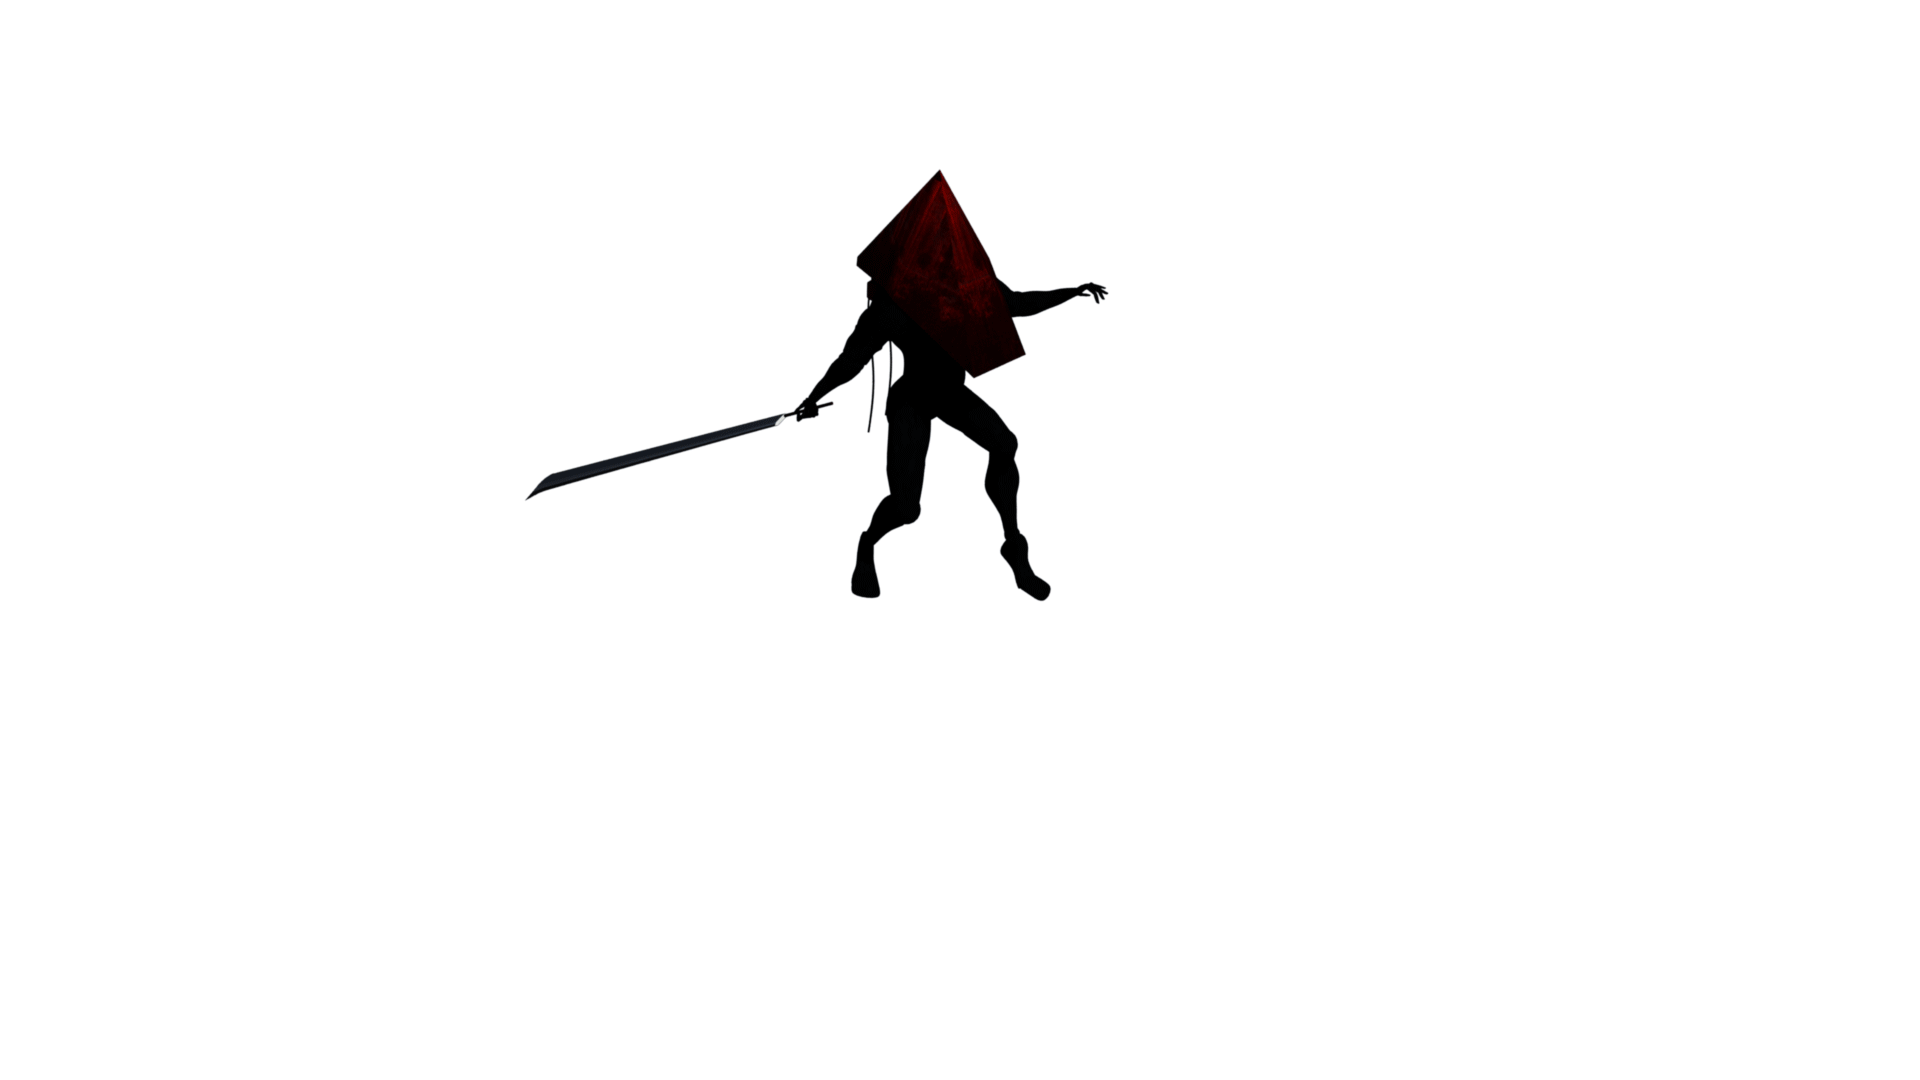
This next figure is called Pyramid Head. The game Silent Hill has some really amazing moments, but one thing I'll remember for sure is this enemy. It has the ability to instanly kill the player, so fear arises each time you encounter him. What I trully enjoy is the idea behind his model - a musculine guy holding a huge sword. The pyramid on his head is where his name comes from, and I'm thinking of having one on my own model. Obviously I'll tweak it up a bit to make it distinguishable, but I really like the idea of having something other than a head for my mech. Generally, this vilain has influenced me a ton and I'll be using some of his features in my own model. Big shout out to Pyramid Head!
Pyramid Head
modelling


Now, before I do anything I have to come up with a plan on how exactly will I model my mech. I know it's going to be a humanoid, and I know it'll have some "Pyramid Head" elements to it, I know it'll have a sword and I also know it'll be a first time experience for me to model a human-like figure, but I need to come up with the right approach. In order to have an easier time rigging and animating it afterwards, I'll have to divide my model into different meshes - each leg should have two parts with a sphere for the knee. The hand is similar - Shoulder -> Bicept Section -> Joint (Sphere) -> Forearm -> Joint (Sphere) -> Hand -> Joint (a sphere for each finger) -> Top part of the finger -> Joint (a sphere for each finger) -> Bottom part of finger. Now, I know that fingers have one more section (Two instead of three), but I'll try with just two in order to keep the poly count lower and be able to make the whole mesh function in the end. I need to be very careful with the modelling, since once I put a skeleton and joints, any mistakes will become very apparent in the animating process. In the beginning, while planning, I decided to make some elements that are not a part of the main body. Here's what I came up with :
The very first thing I modeled was the sword. At this point, I decided to keep it quite simple, since I had a whole human model to make ahead of me, so I had no time to waste. I made a very simplistic sword that he'd carry around. In the event, where I have finished my project before the deadline, I'd re-create the sword and make it look better.
Next, I decided to make a cogwheel. I thought it'll come in handy eventually, even though I don't have a specific plan on where would I place it for now. I also tried making it similar to the Big Daddy's style - rusty and old. In the end, I decided to keep one of the faces without extruding it, to make it look broken.
For the next bit, I decided to make a broken control box with hanging cables. This would have a name label on it, making it look like the mech cannot function without it, since each test subject is assumed to have a unique and specific control box with their numbers on it. The next idea I had, is to put some hanging cables on
it. My main influence for that was the Predator (image shown below). The hair that the Predator has looks like cables, and I believe is an amazing detail to have. As my mech moves, the cables would dynamically follow his movement. The color of the box is bloody red - making the mech appear more dangerous. In the end, I just put the two tubes that would go into the mask, keeping the entity alive. I believe this small control box is going to be a great addition to my robot.

predator
At this point, it was time to start modelling the body and the head. Since this was my very first time doing such a huge thing, I decided to grab some reference images of human body - front and side views, in order to keep everything in the correct ratio and size.

On the right, you can see the image I used for reference. It's exactly what I need - shows the different body parts, how the muscles work and where the joints should be. I put that image in Maya and started working on making the different parts one by one.

The modelling process of the body was a first time experience, as I've already mentioned. I had to quickly learn how to effeciently swap between the front/side/perspective cameras, to work with verticies instead of faces, and how to properly use the smoothing tool, while inserting edge loops approprietly. This was, by any means, not an easy feat for me at this point. On the left, you can see a picture of how the torso looks like after smoothing it. Surely, it needs more work, but for the time being it'll do. Once I get the general shape of my character, I'll come back to it and add some more touches and details. The torso at this point was very low poly, which means the edges are very easy to detect, but with just one tool that I'll use later, this will become a way better mesh. Moving on to the next bit.
Next on my list were the legs. They consist of four different meshes - a sphere on the top, that will serve as a joint, then the hip, then another sphere as a joint and then the calf. The idea behind putting spheres as joints, is to make it easier later on to rig the whole leg - instead of having the muscles turn around and twist, I'll have spheres binded to the joints. I came up with this idea by seeing how one of our exercises had to be executed, but I'll write about that a bit later. Anyway, the legs. I used the same principle here as with the torso - making each mesh by using the front and the side reference that I had found. To be fair, the legs were way easier to model than expected.


At this point, I decided to make the head. It's by far the easiest bit to model with the least amount of polygons. What I need to do now, is add a neck and change the texture. We're supposed to make a mech, not some ancient mummy. The next part was the hands. They were very similar to the legs - two joins and two meshes, but an interesting thing here, is that the shoulder was a mesh that I've modelled and it'll act as a joint as well. We were warned, that the shoulder is the most difficult part to rig and animate, so I spent more time on it to make sure it looks good. Now, the most difficult parts remain - the feet and the hands.
At this point, I was just finishing the hand. I've also placed the control box on the mech's back. Once I finish the hand, I'll simply add one to the other side as well, and we're pretty much done with the modelling part. The main part of the project still remains - rigging the body and making it move. I believe the rigging will be easy, but the animation itself will be a difficult task. We'll have to see how it goes!

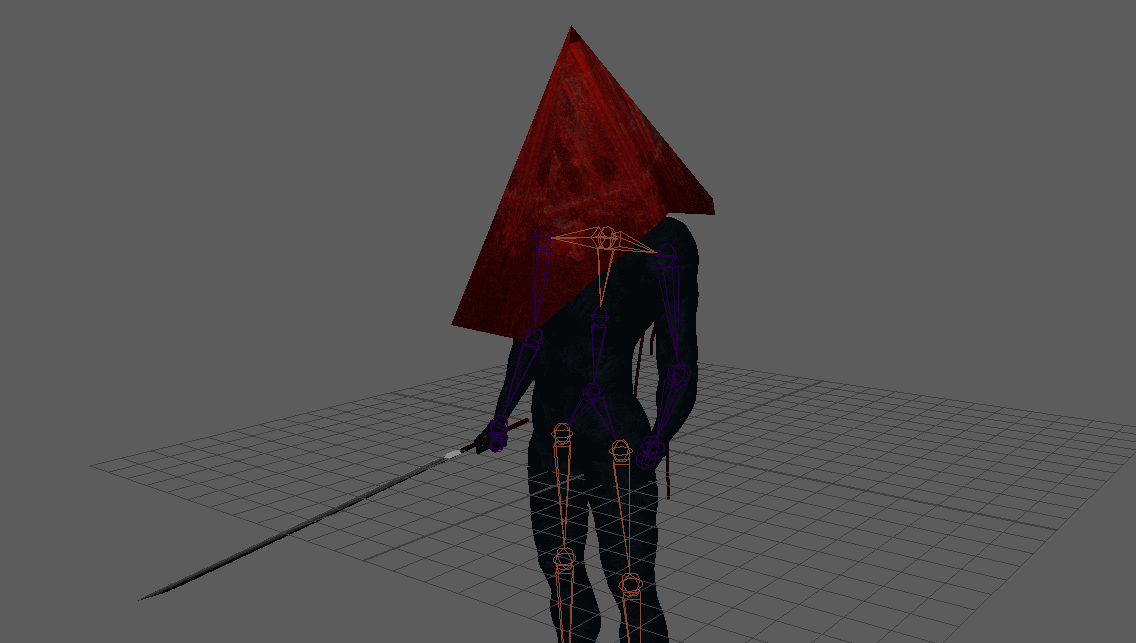
And the model is finished! For the rigging part I'll use both forward kinematics and inverse kinematics. I'll explain how each of them works a bit later. I expect the next part to be fairly easy, since the model is pretty basic and won't have some weird joints or other freaky movements. The whole modelling + texturing process took me about 15-20 hours in total. I faced some minor problems, but I'm overall extremely happy with the result. Ready to face another set of problems now with the rigging!
Here are a bunch of pictures, so you can see how the model looks like from the back. I might re-texture the sword and the pyramid, but aside of that I'm pretty much done with both modelling and texturing. I'm very glad with how it looks like in the end. On to the rigging!
rigging
Before I start with the rigging process, I'd like to show some of the techniques, that I probably will end up using. There's some very important things to notice here, so I'll try to be detailed.
forward kinematics
inverse kinematics
vs
There are two main ways of rigging a body - using Forward Kinematics or Inverse Kinematics. I've used both of them for my model, as you can see in the GIF files on the sides. The difference between them is which join controls which - that's all. The human body's joints move via rotations. It's important to know this when rigging a body. Let's see some description on which method works for what!
The first thing to notice in Forward Kinematics, is that it'll look more realistic in the end. You work ONLY with rotations, which is how the human body works. If you were to use IK (short for Inverse Kinematics) on, let's say, a hand, it would look incredibly wrong. Arms move in a very fluid circular motion. I tried IK on my mech's hands before I knew I shouldn't, and it turned out terribly. The way to work with FK (Forward Kinematics) is to make a skeleton (rig), and then parent-child each mesh to the according rig part. That's all there is to it - you just rotate after that. It's far more difficult to animate the model afterwards with FK, but it looks way more realistic.
The second way to rig is the Inverse Kinematics (IK). Instead of using rotations, this method uses IK handles. The result - a very stable movement, that is followed by it's parents instead of the other way around. The IK handle makes the higher-in-the-hierarchy meshes follow the bottom one, which results in what you can see above. This method is just perfect legs and feet. It creates a very stable model, and slippy legs is not an issue anymore (legs slipping without actually getting off the ground). Another resolved issue using this method, is the feet inside the ground - it doesn't happen anymore. Overall a great technique to use!

aim
Another technique that I've learnt is the "Aim". It allows you to put a focus point on a mesh, which is perfect for eyes or a gun. It's perfect for everything that has to do with aiming really. First thing you do, is create a Locator (since it's just an invisible point in space). Next, you select the locator and then the mesh that is aiming, and you use Constraint -> Aim. It's as easy as that. Now you move the locator to change the focus of the mesh.
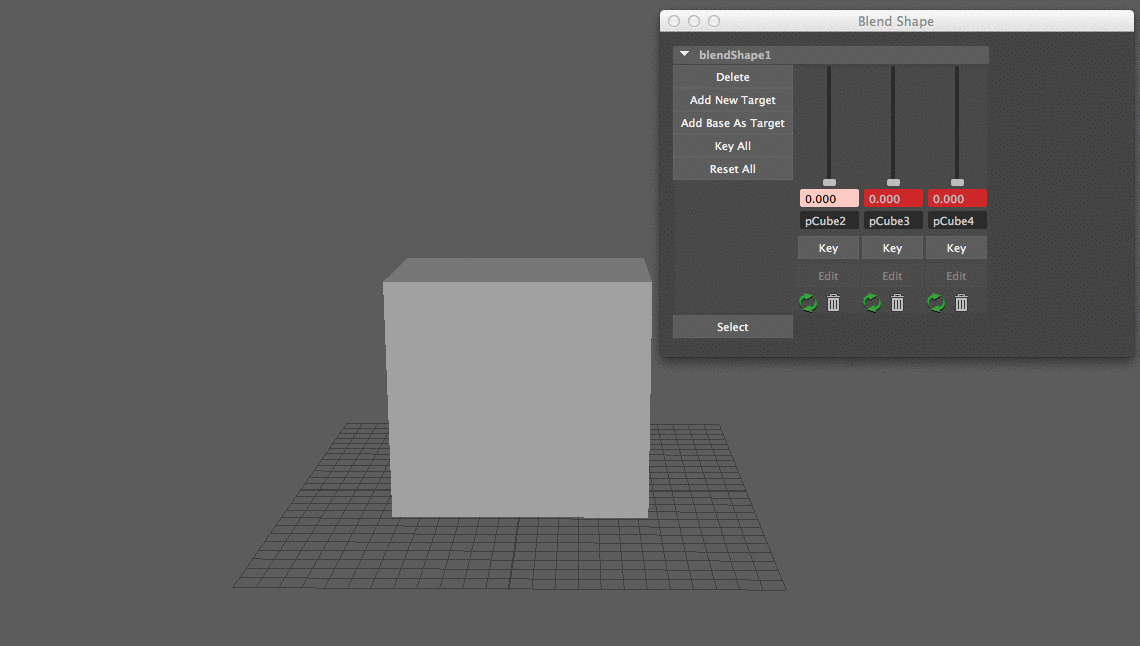
blend shapes
The final technique I'd like to discuss, is called the Blend Shapes Technique. It's very useful when it comes to lip-syncing. It allows you to add layers of keyframes, which can work all at the same time. It automatically generates the transition between those keyframes, which makes the job easier. Generally a nice technique, but I couldn't find any use for it in my own project, since my character has a huge pyramid on his head instead of a face.


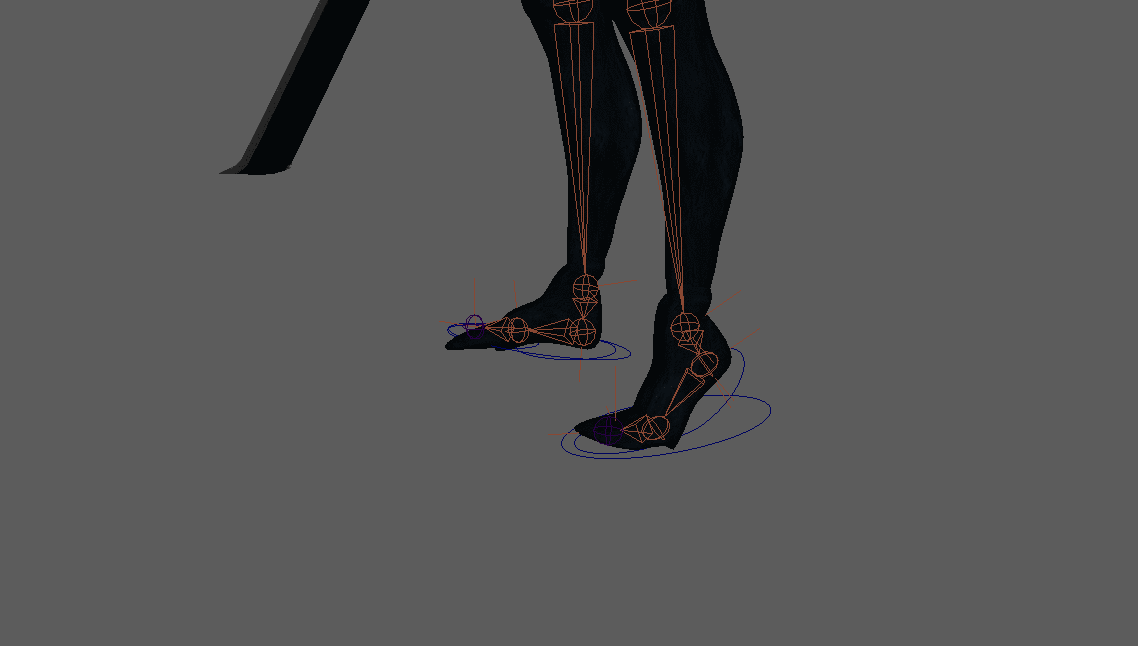
Here's a picture of how I rigged my mech. The very center of the body is the upper torso bit. The rig is fairly simple and self-explanatory. I've divided the feet into two parts, so it looks good when he raises his legs. I've put IK handles on the legs, so the animation is easier to do afterwards. All in all, a fairly easy thing. The soulders were a bit troublesome, so I had to re-model them before the final result. The picture on the right has no IK handles, while the bottom one is after I've added them.
Once I did the rig, I played around for a bit with different poses and lightnings. The only thing left to do now, is to animate the figure. I'll probably have him swing his sword, but we'll see how it'll turn out in the end. Gallery ahead!


animating
As a grand-finale, I wanted to have my mech swing his sword in a slow manner. I got this idea from Pyramid Head once again. Here, you can see four different perspectives - Top/Front/Side/3D. Since this was my first time seriously animating something, it was a nightmare. The animation consists of only 38 frames, but getting every single limb to co-operate took me more than three hours. I'm sure that once I get more used to this, it will take me way less time, but for now I'm very happy with how everything turned out to be.